

I’ve discovered an awesome combo: the Hollyland Lark M2 paired with the DJI Osmo Pocket 3.
Most people swear by the DJI Mic 2 as the ultimate mic for the Pocket 3, as it marketed as perfectly compatible.
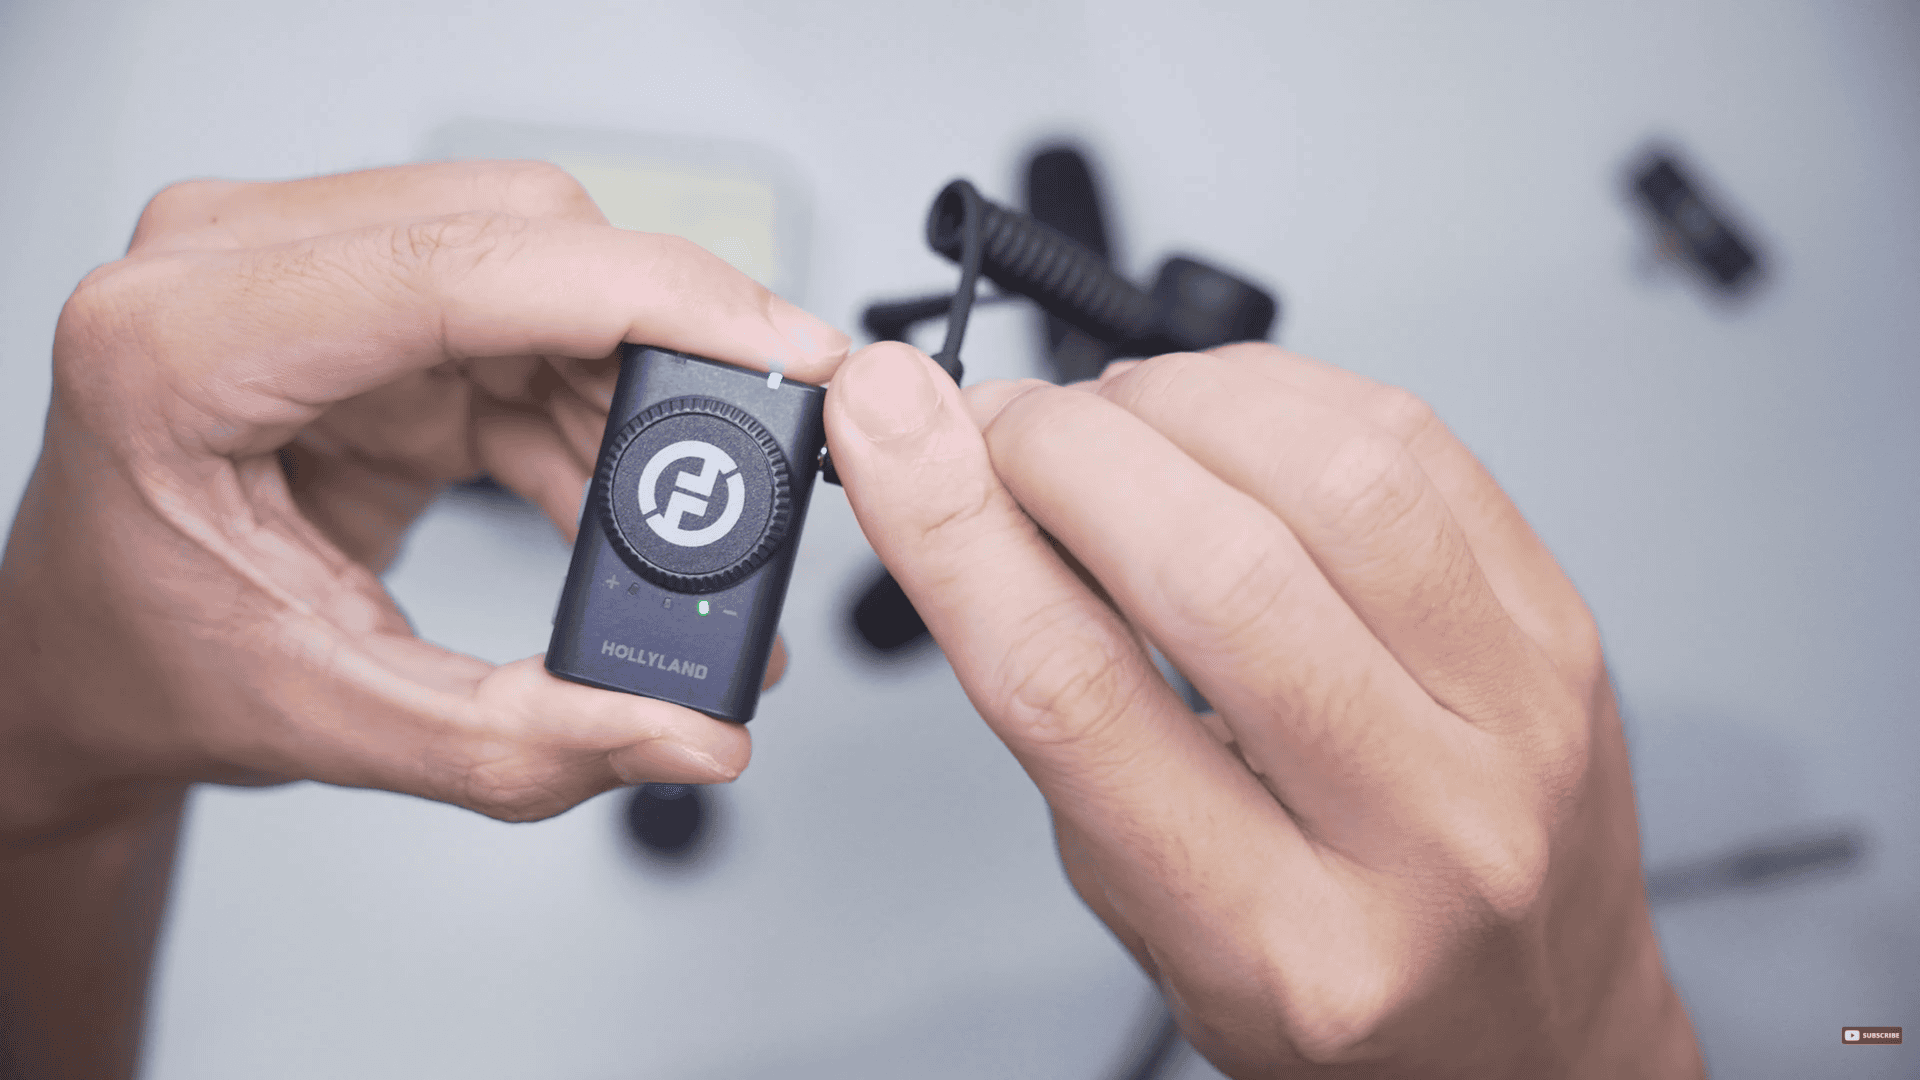
But personally? I’m leaning more into the Lark M2. It’s insanely tiny, has a gorgeous form factor, is ultra-portable, and costs way less. So, if you’re like me and want to try this underrated setup, stick around as I’ll walk you through the full tutorial and share my insights.

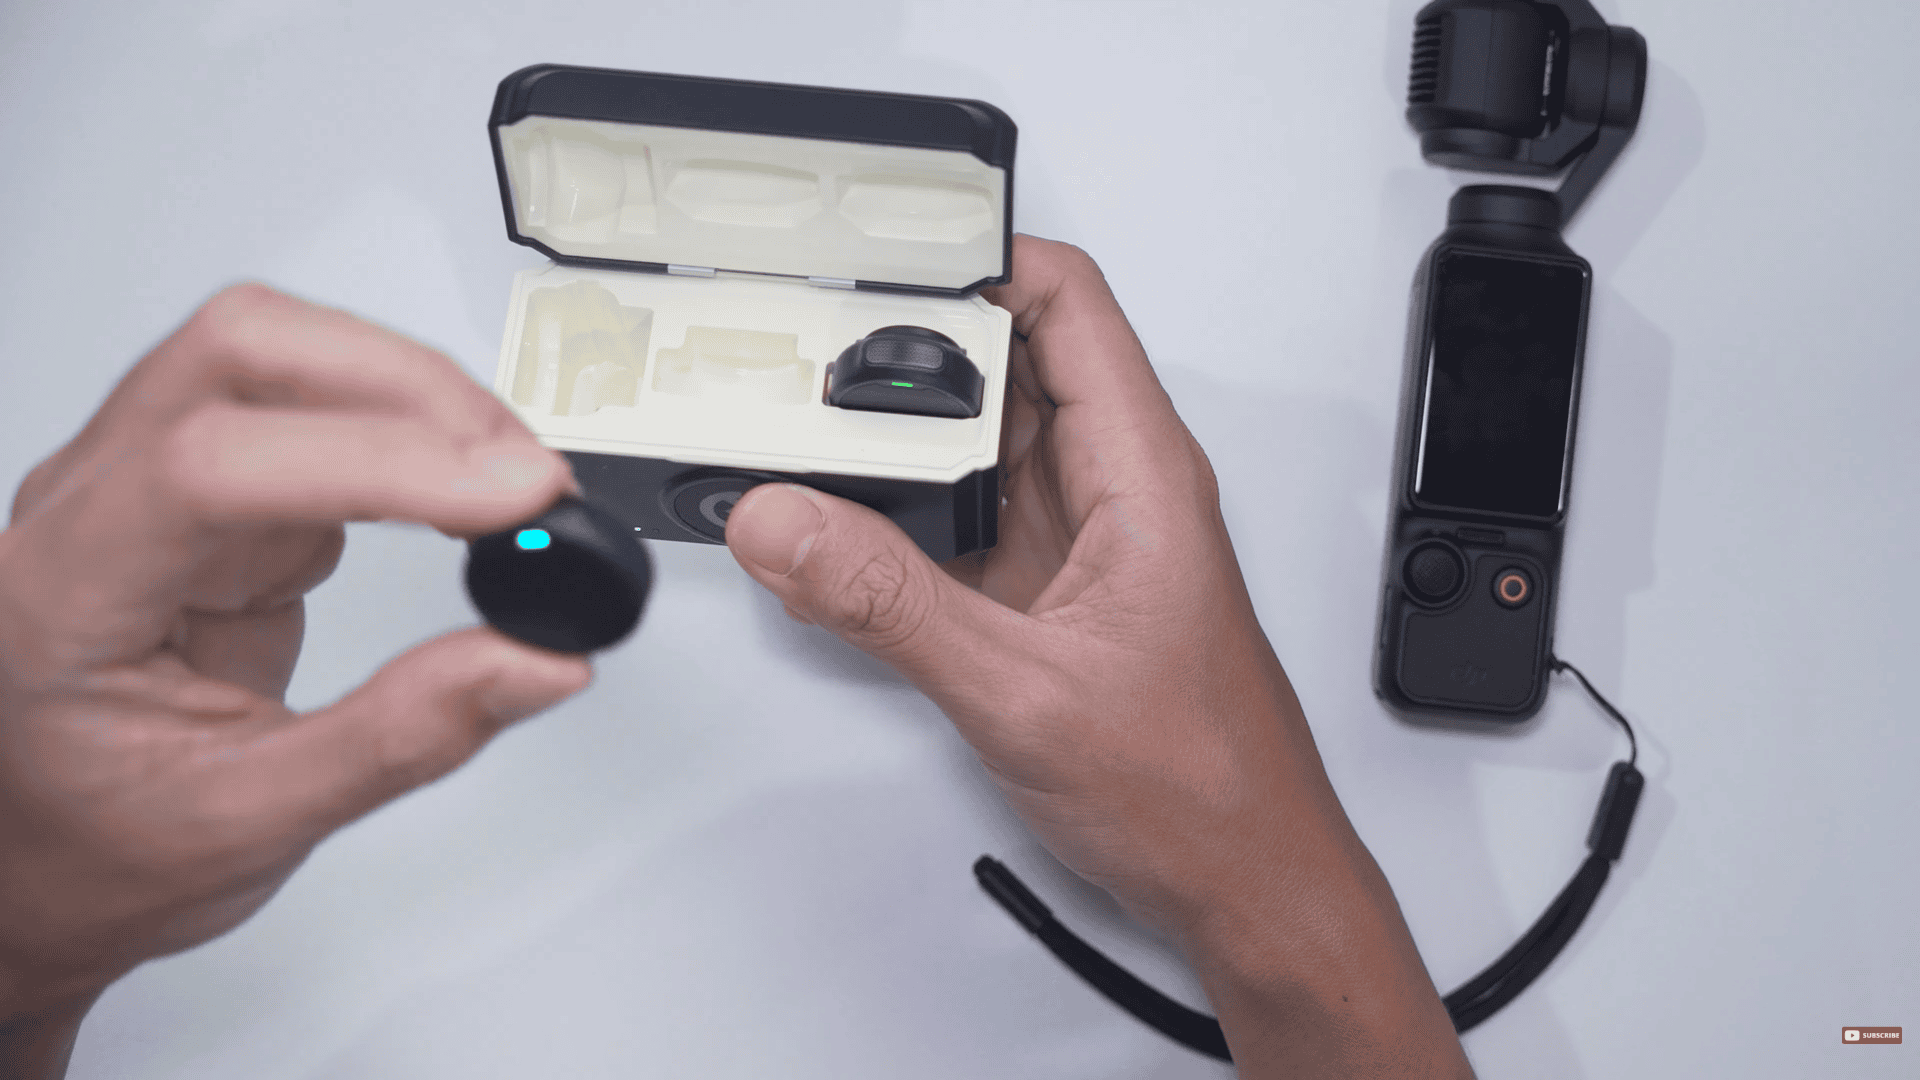
The Hollyland Lark M2 and the DJI Osmo Pocket 3.
Error on my first attempt
When connecting the Type-C receiver into the back of the DJI Osmo Pocket 3, the gain levels do go up and down on the screen being monitored. Also, if you go to the wireless mic settings in the Osmo Pocket 3, you’re only going to see that the DJI Mic is detected. So, it’s really not detecting the Hollyland Lark M2.
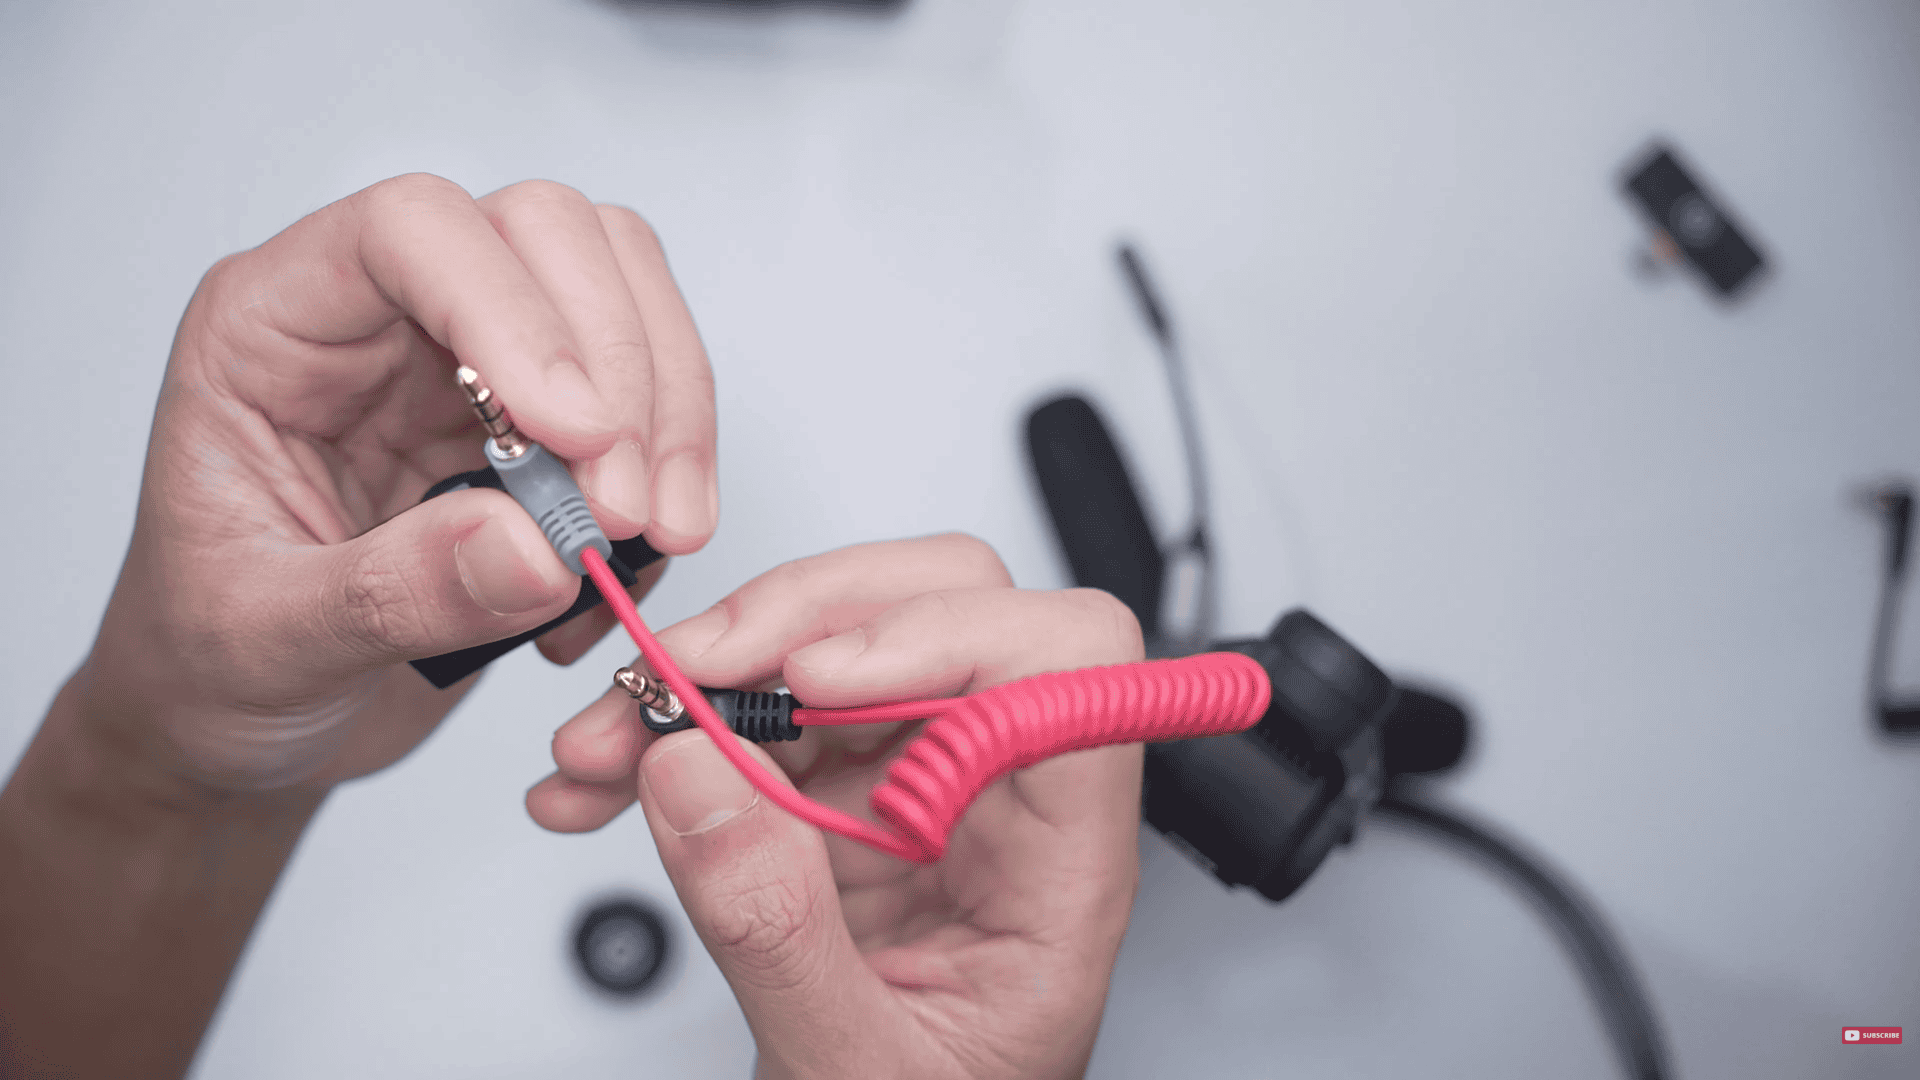
So, what I’ve seen others do on YouTube is they would grab the camera receiver, and they would connect it to the TRS to TRS cable. And from there, connect this end into this 3.5mm to Type-C adapter, and then plug this into the back of the Osmo Pocket 3.
Grab the camera receiver, and connect it to the TRS to TRS cable.
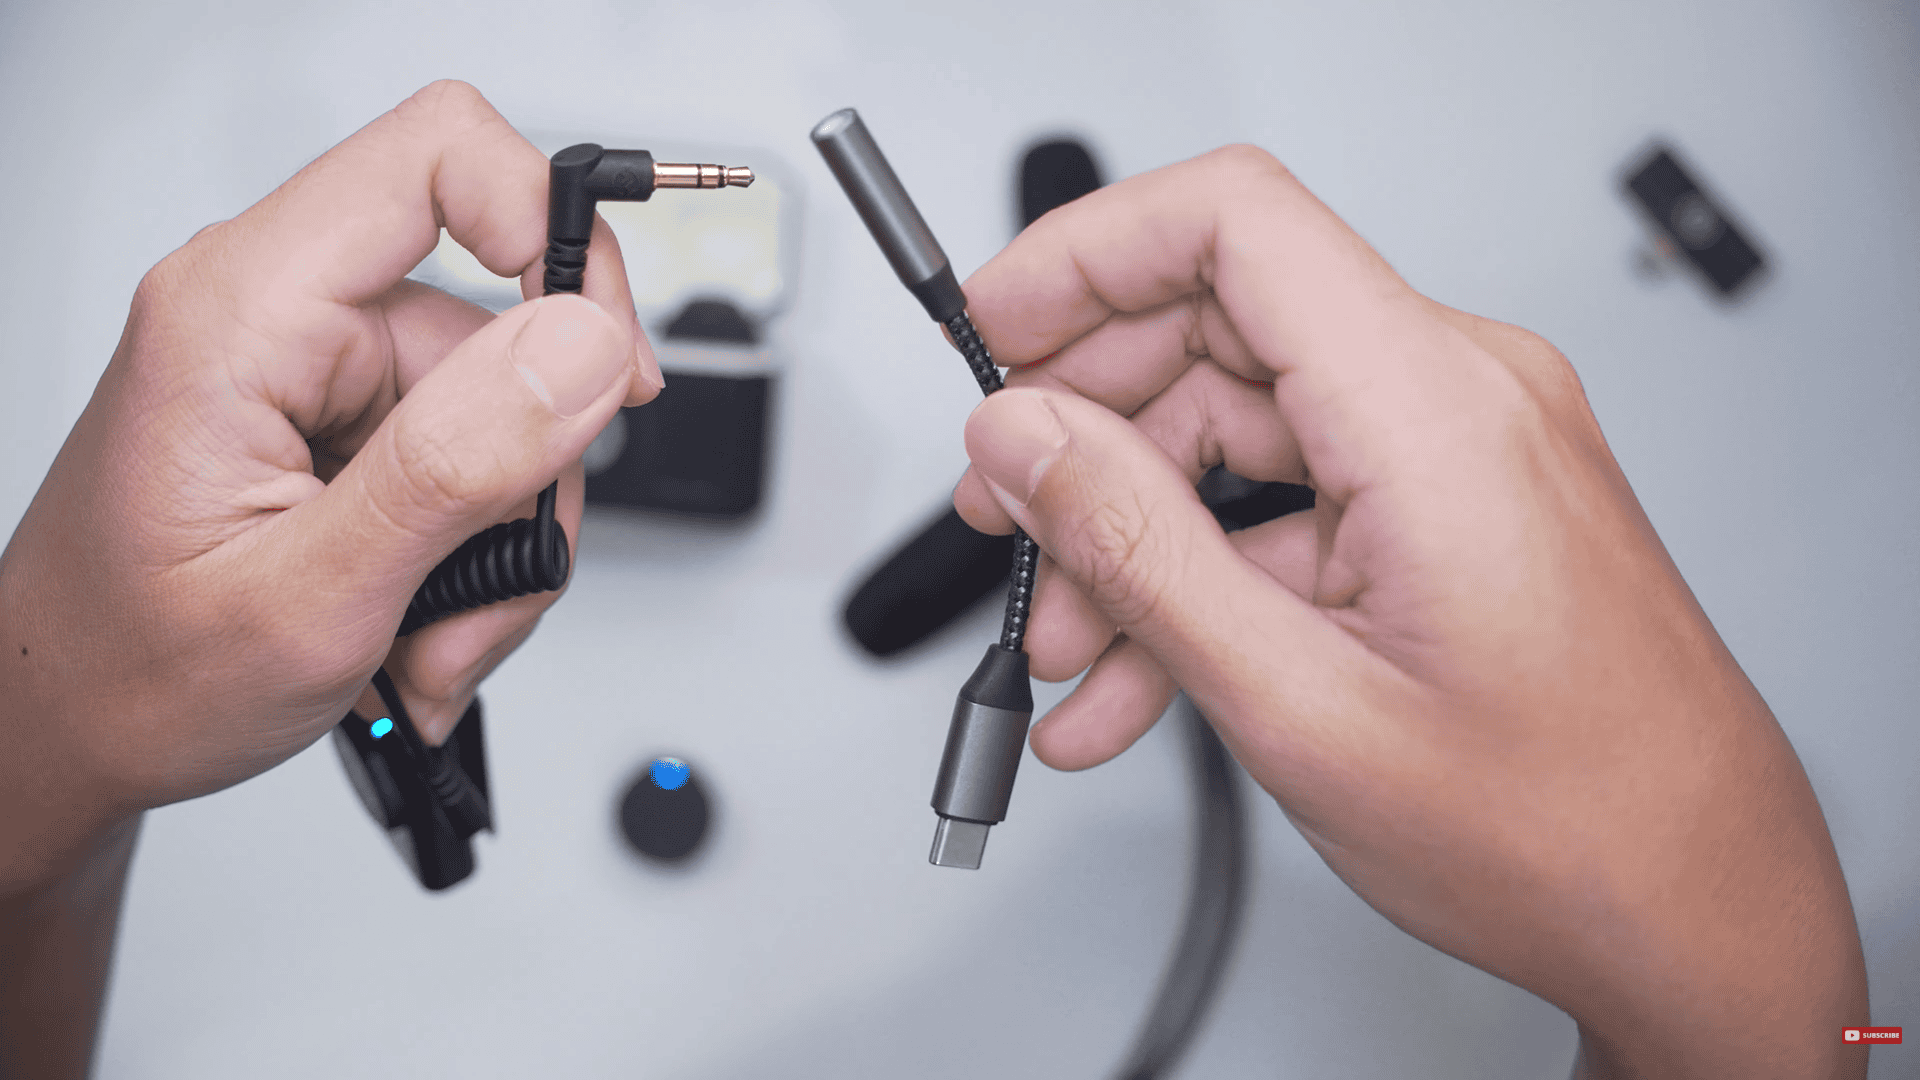
Connect this end into this 3.5mm to Type-C adapter
And then plug this into the back of the Osmo Pocket 3
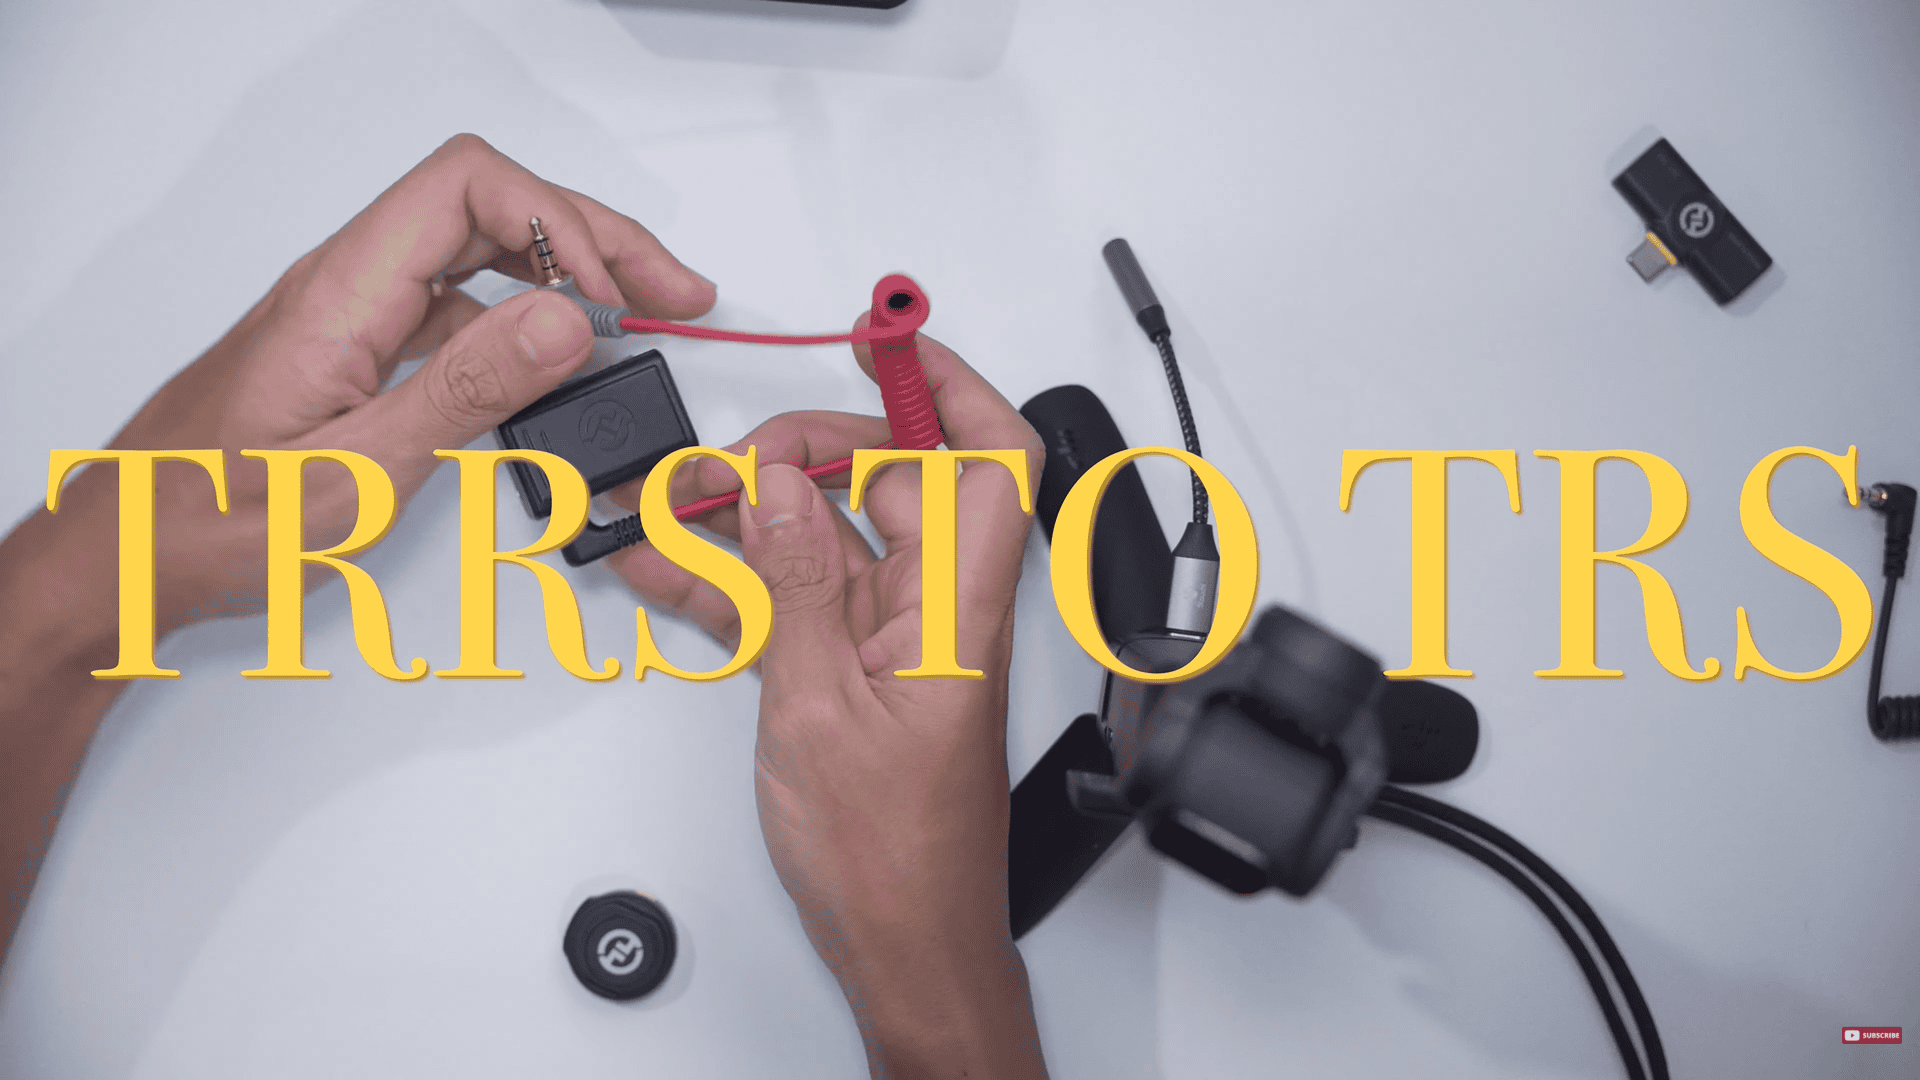
The correct way: TRRS to TRS
For my first attempt, the audio wasn’t so good. Maybe others got it to work, but when I got this Stouchi adapter, there were three of these, and all of them had the same audio quality.
Okay, I made a mistake:
I used the TRS to TRS cable for that one.
Now, i’ll try again and this time I used TRRS to TRS appropriately, using the one from RØDE. This time the audio is better and working properly.
I’m not sure if it’s 100% original, and because I had suspicions that maybe this cable isn’t authentic, I also bought Hollyland‘s very own TRS to Type-C cable.
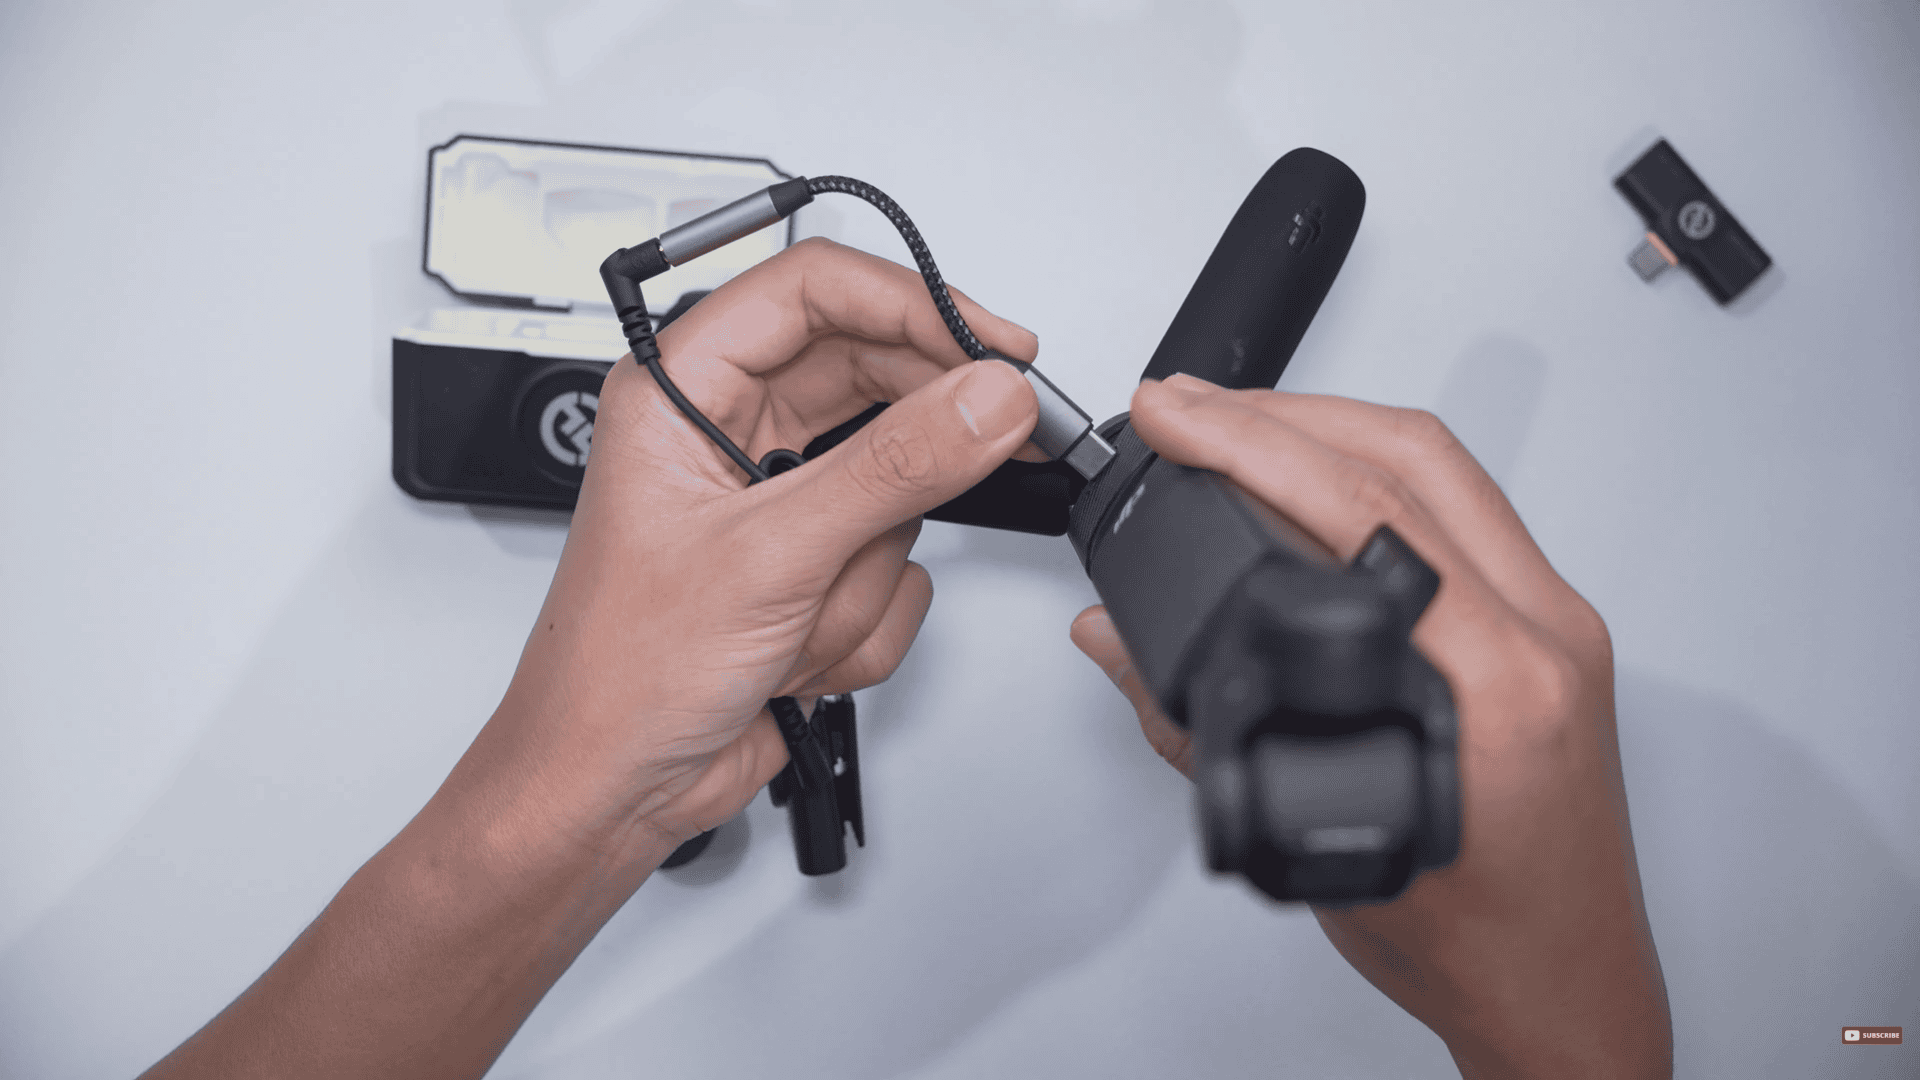
TRS to Type-C
Now moving on to, TRS to Type-C of the Osmo Pocket 3. Audio is okay but I knew that there was some extra signal degradation going on because this was another analog step in the signal chain.
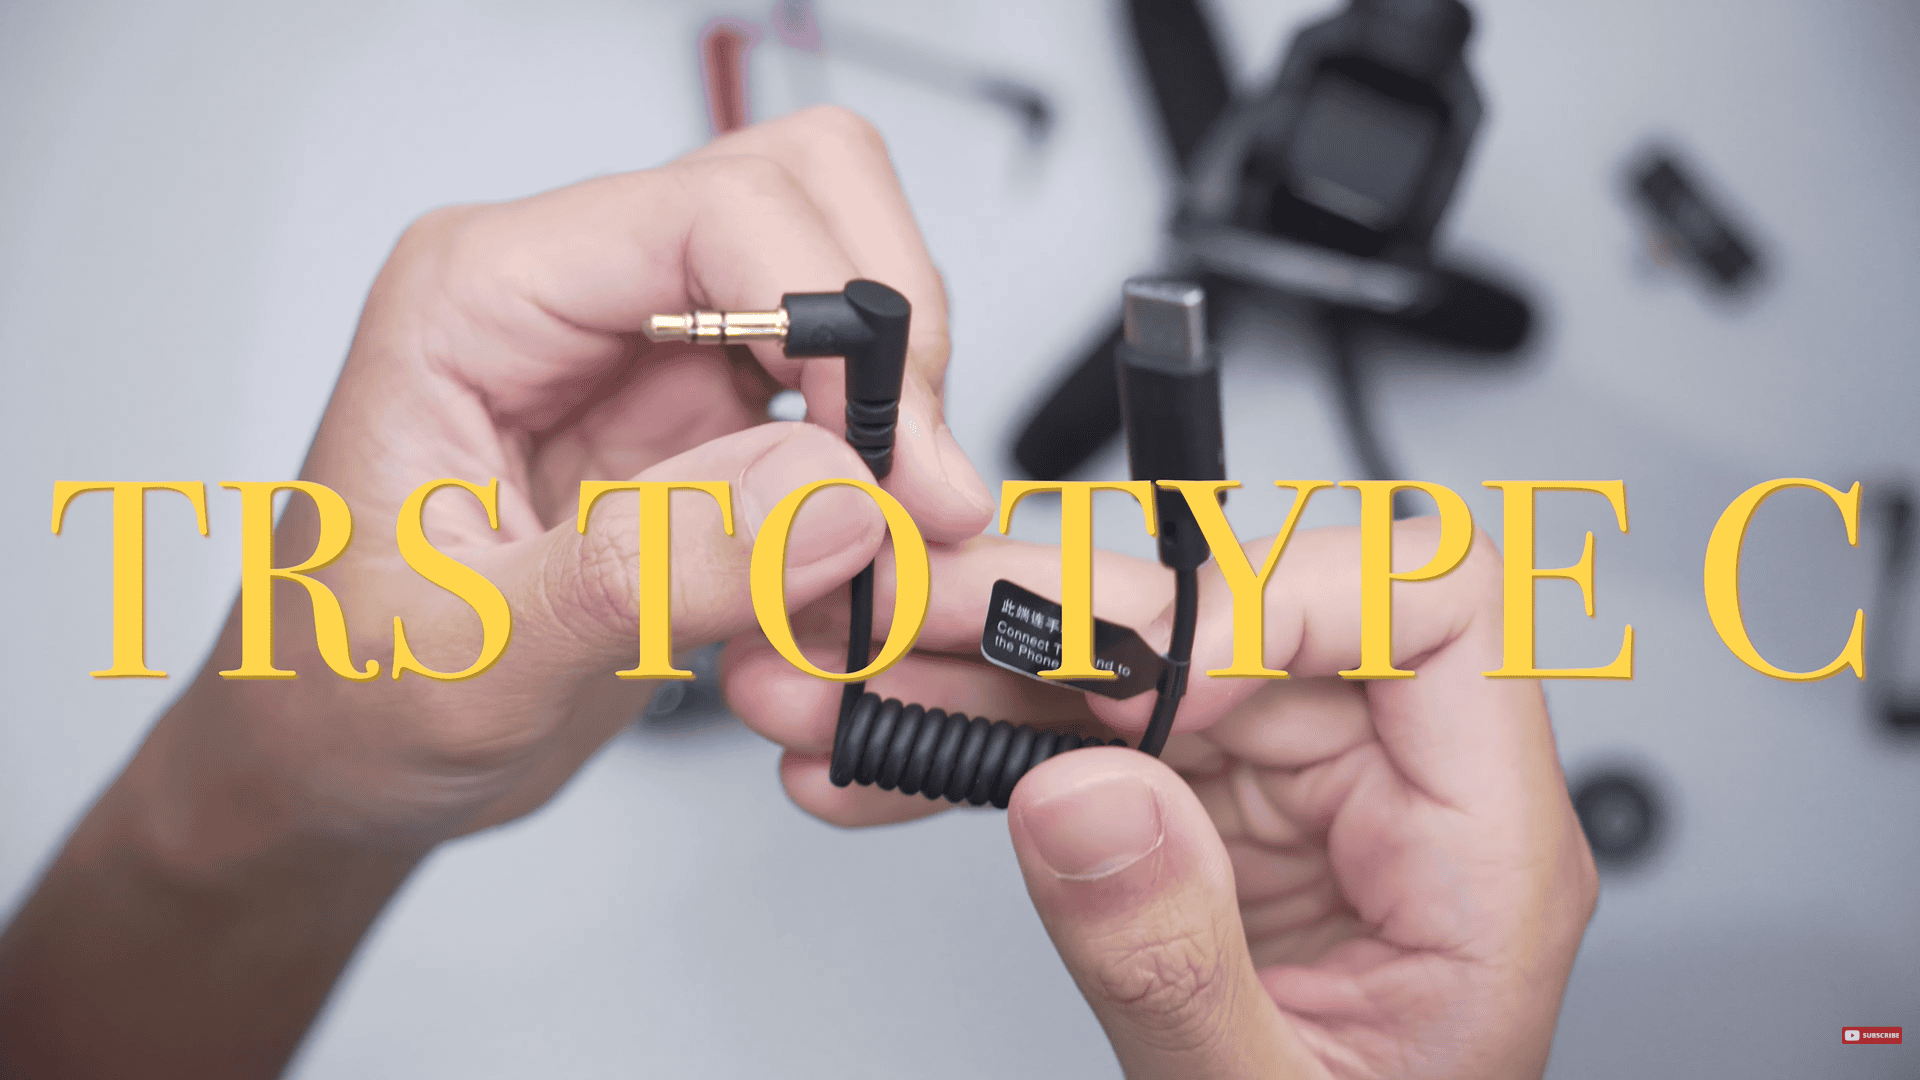
The TRS to Type-C setup
USB Type-C
With the concern of extra signal degradation going on, the solution is to go digital. So, I bought these three USB-A to USB-C cables. All of them are USB 3.0 to ensure the best possible connection.
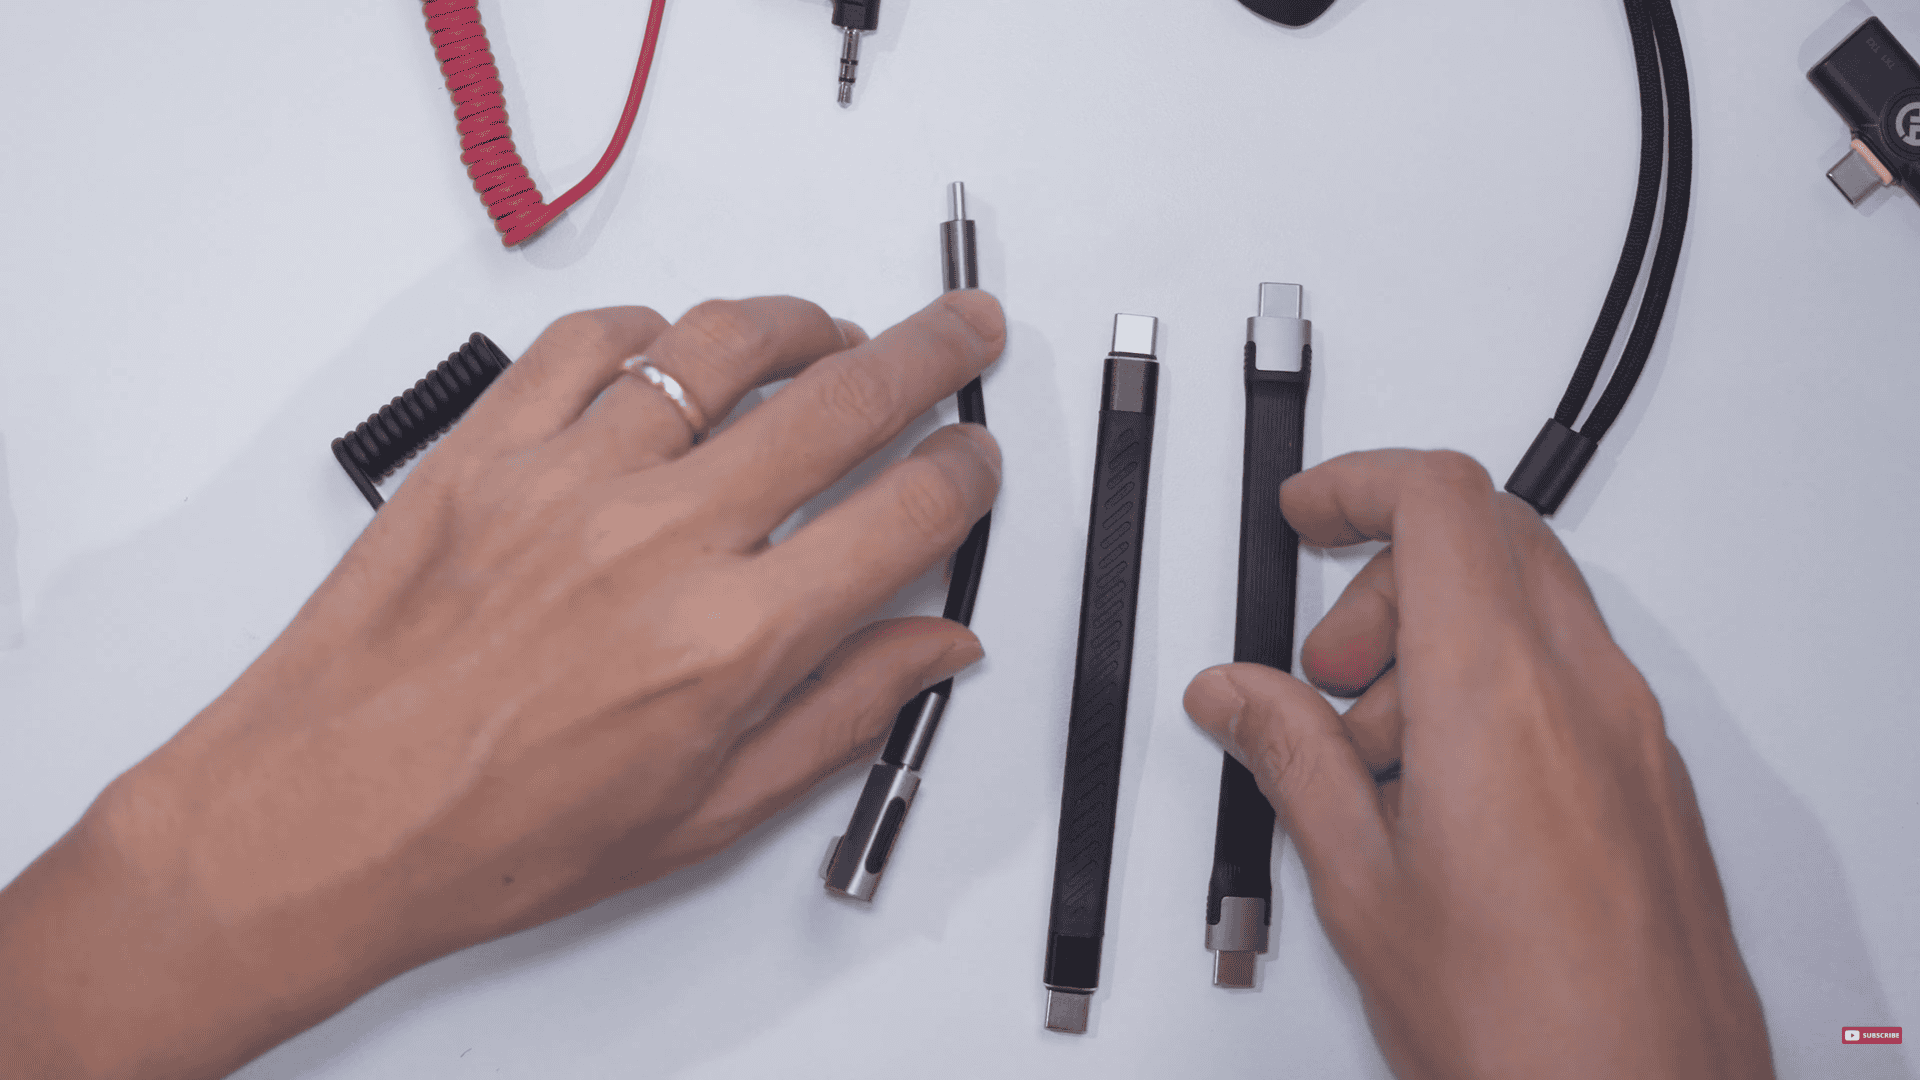
Right to left: Hagibis, unnamed, and Ivon
Now, let’s look at the names quickly. The first one is the Hagibis. (from the right) It is 40Gbps / 8K / 240W. The second in the middle, unnamed, had a similar description to the Hagibis. I bought it off of a platform called Lazada here in the Philippines. Not sure where you would find this on Amazon, but the specs were similar. The last is called the IVON (left). This one is the shortest one in the bunch.
I also bought an L-adapter also from Hagibis, which I bought for the ergonomics.
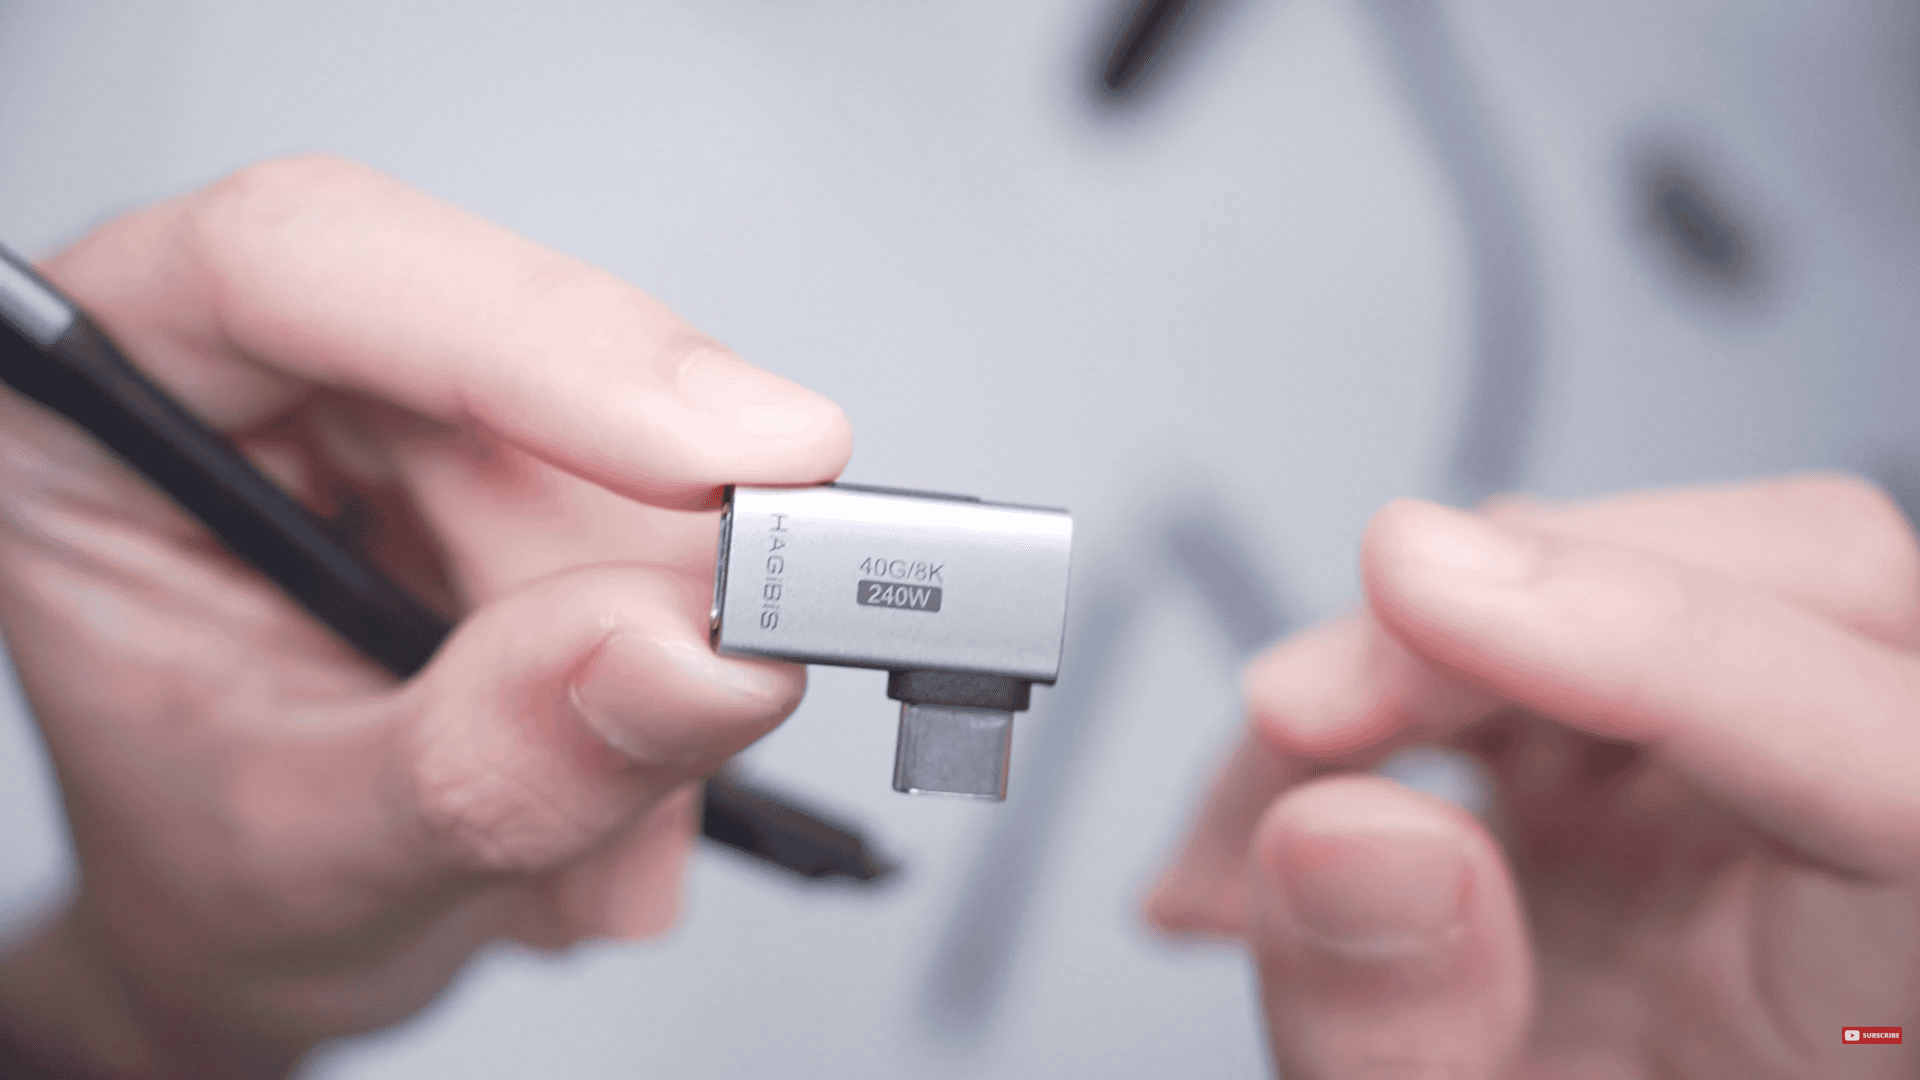
The L-adapter
So, I bought these two USB Type-C (Hagribis and the unnamed in the middle) because I was experimenting to find out which one of these would work first and foremost. Now, assuming that maybe they didn’t work, I also needed one that was shorter (Ivon), based on the form factor that I was going for.
The Setup
So, let’s go into the ergonomics. Here we got the DJI mount adapter rig, and we attach it to the DJI Osmo Pocket 3. Once that is installed, what you want to do is to grab the camera receiver and to mount it onto the Osmo Pocket 3.
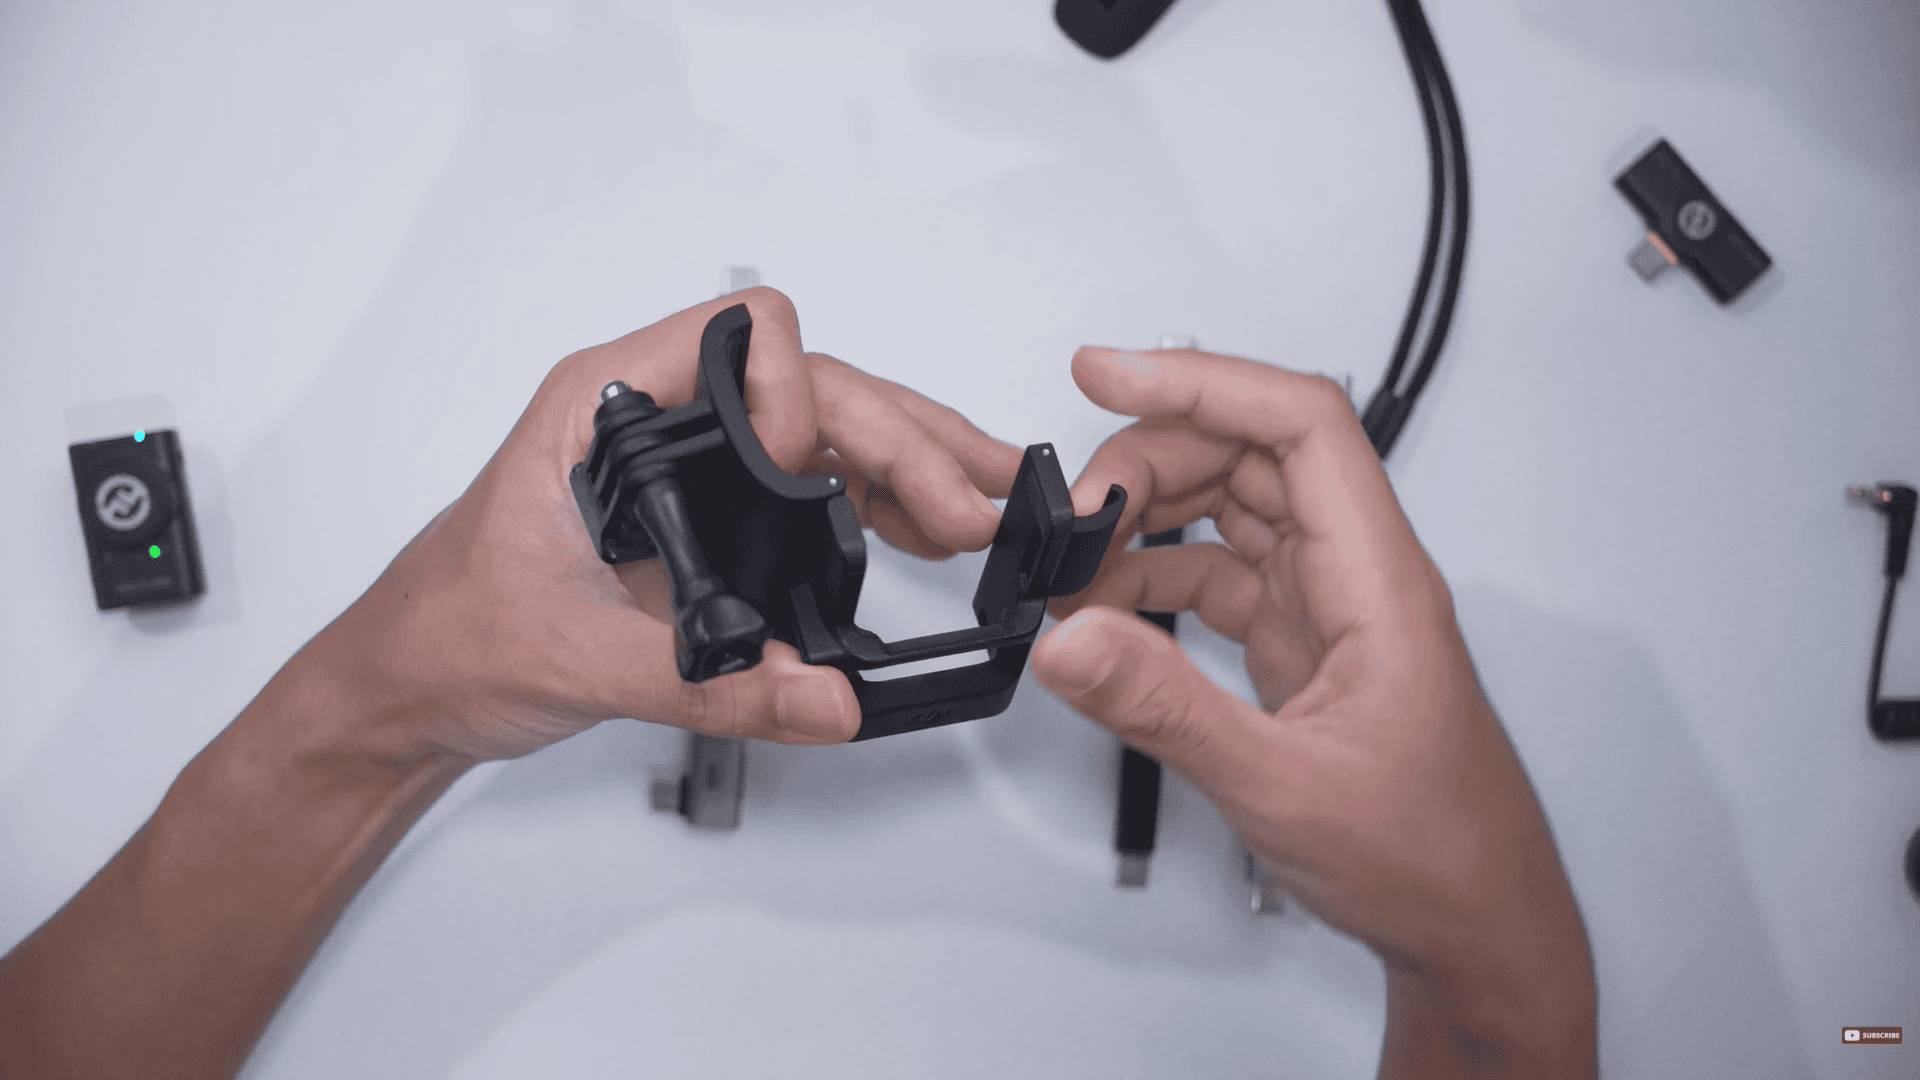
The DJI mount adapter rig
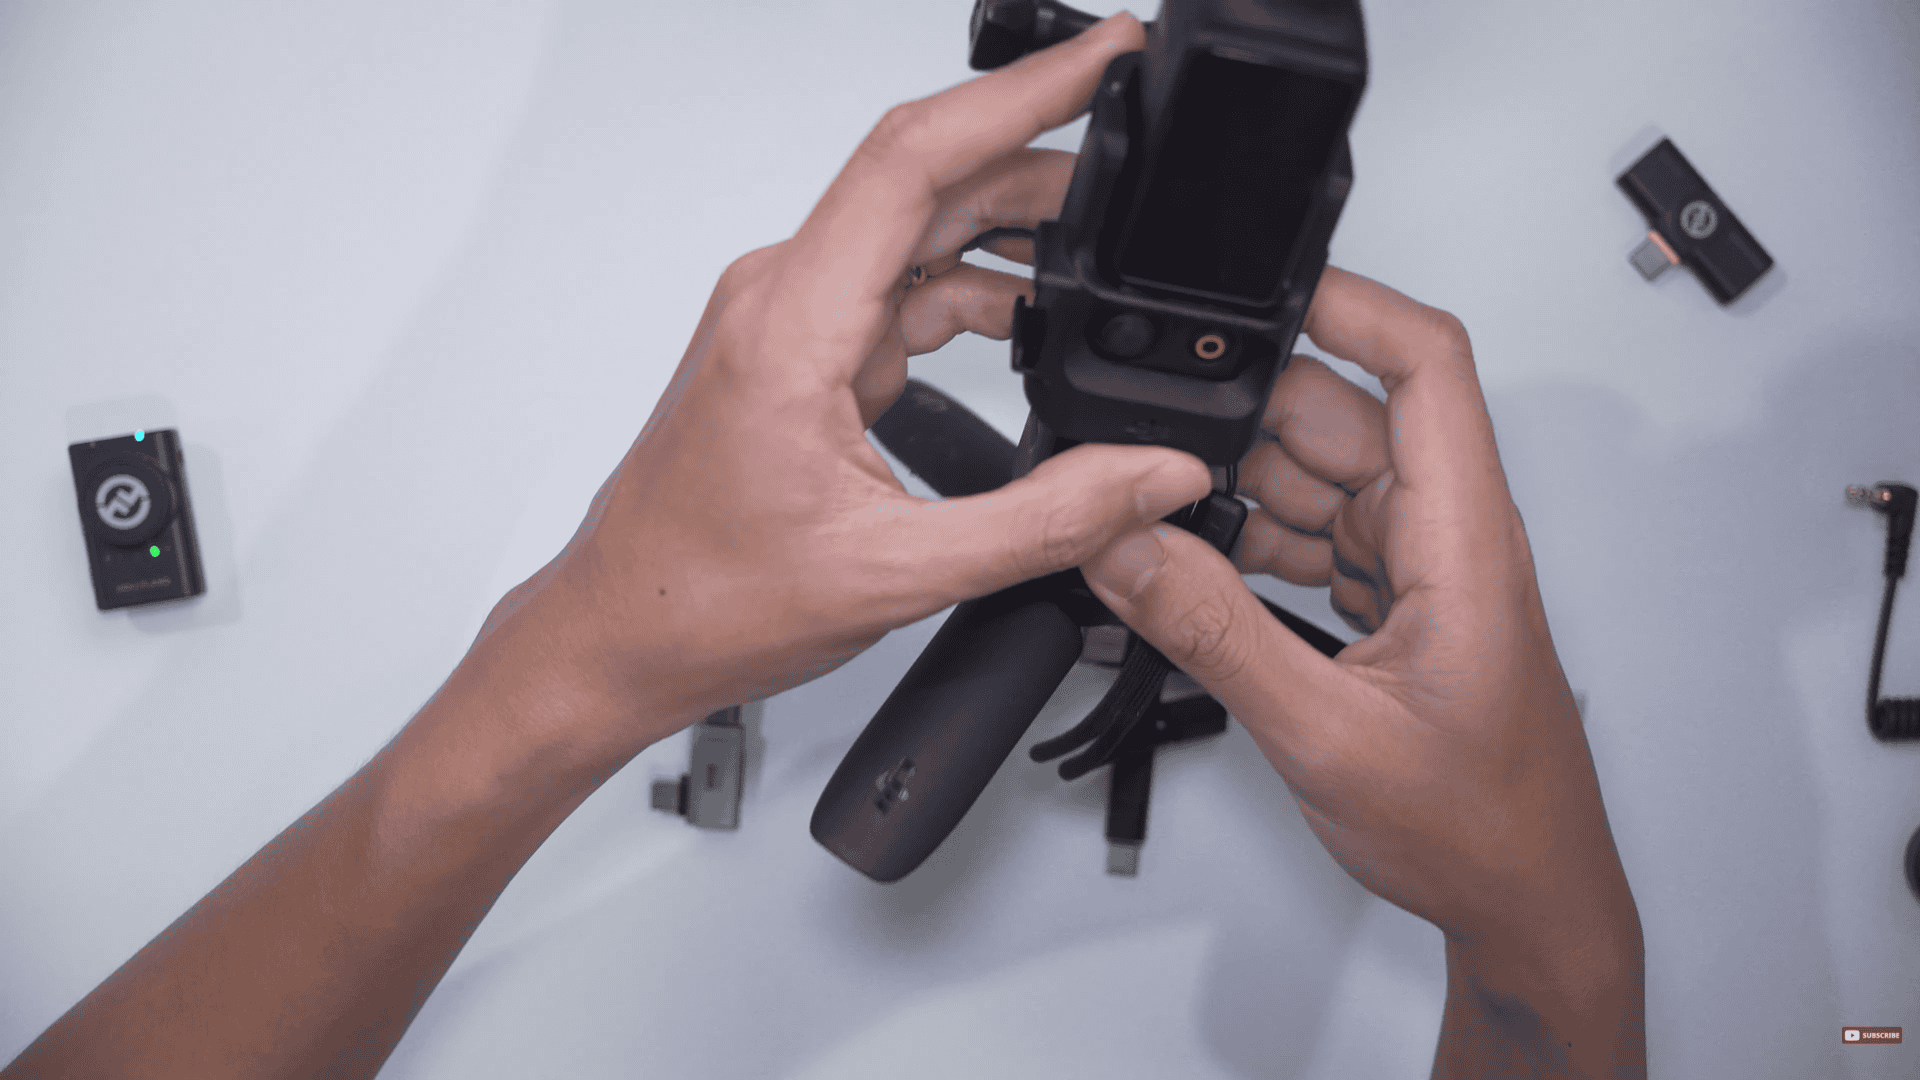
DJI mount attached to the DJI Osmo Pocket 3.
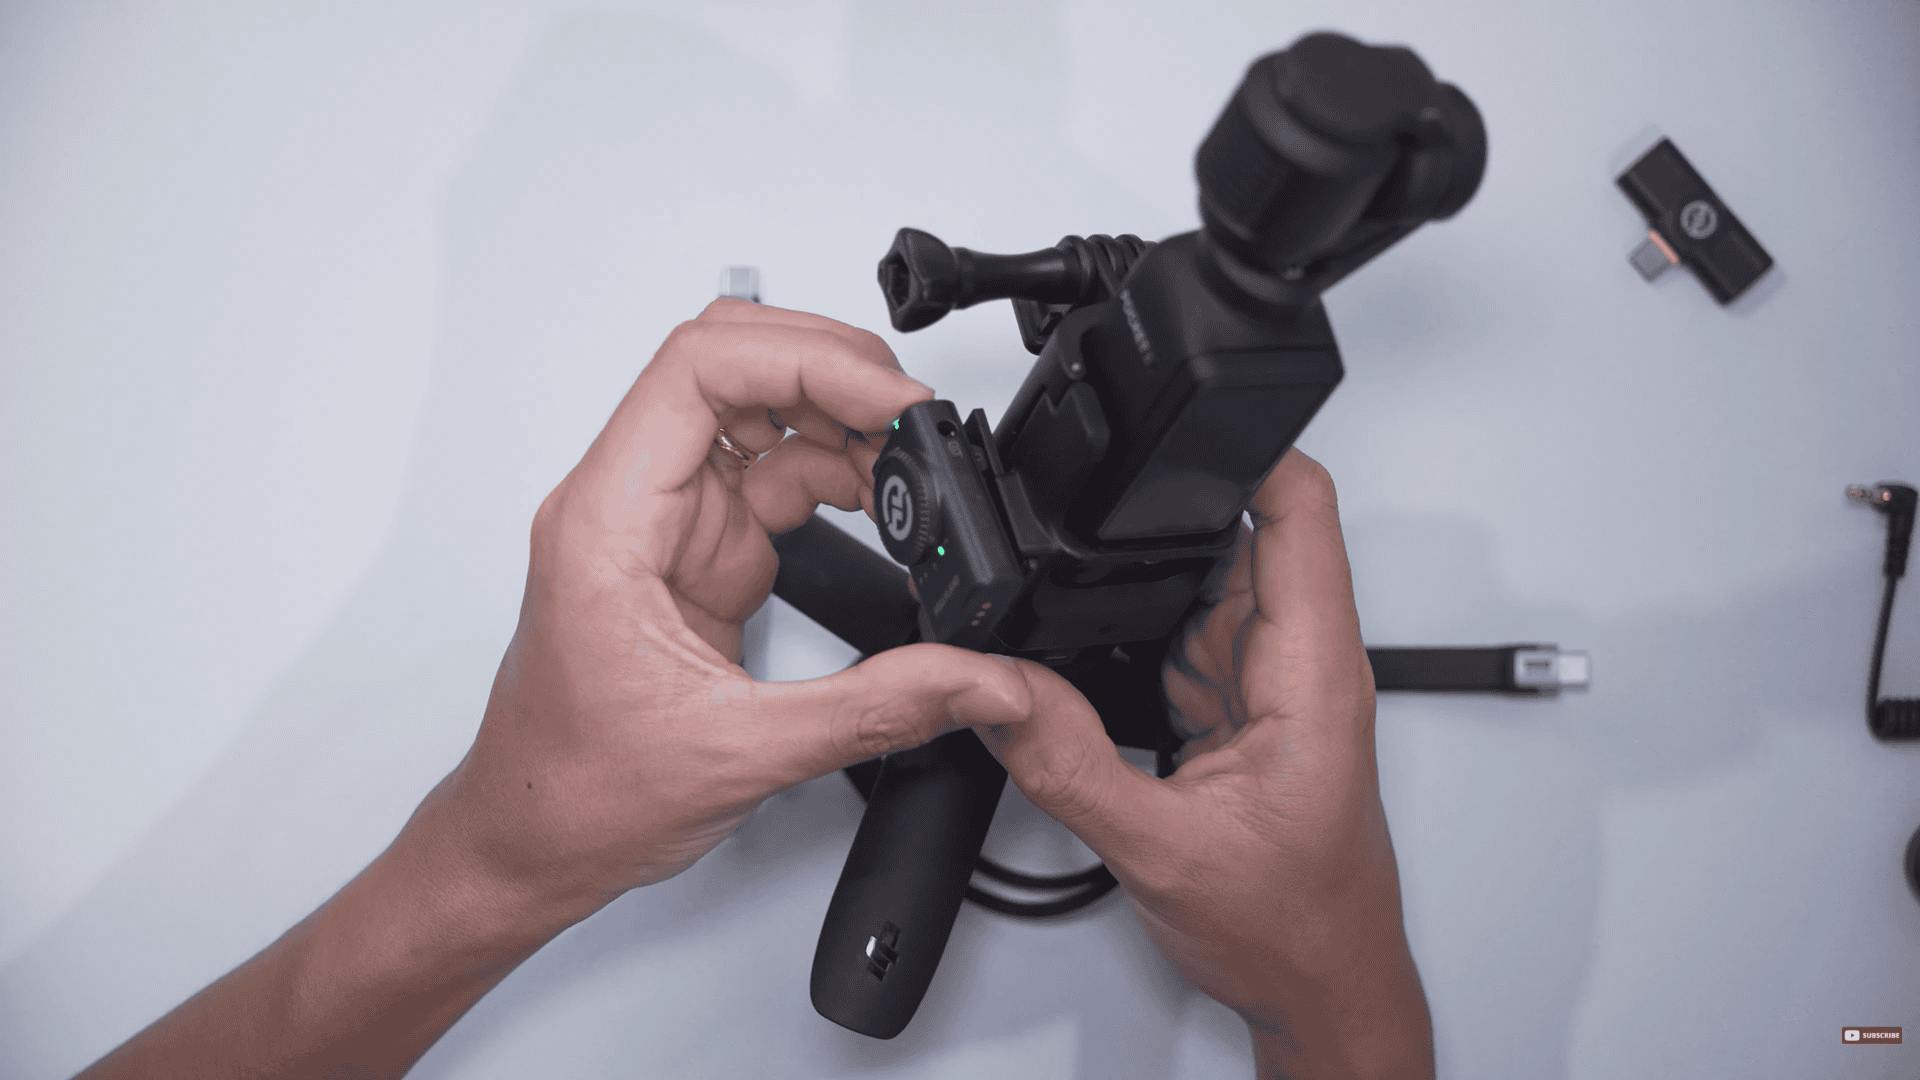
The Osmo Pocket 3 attached
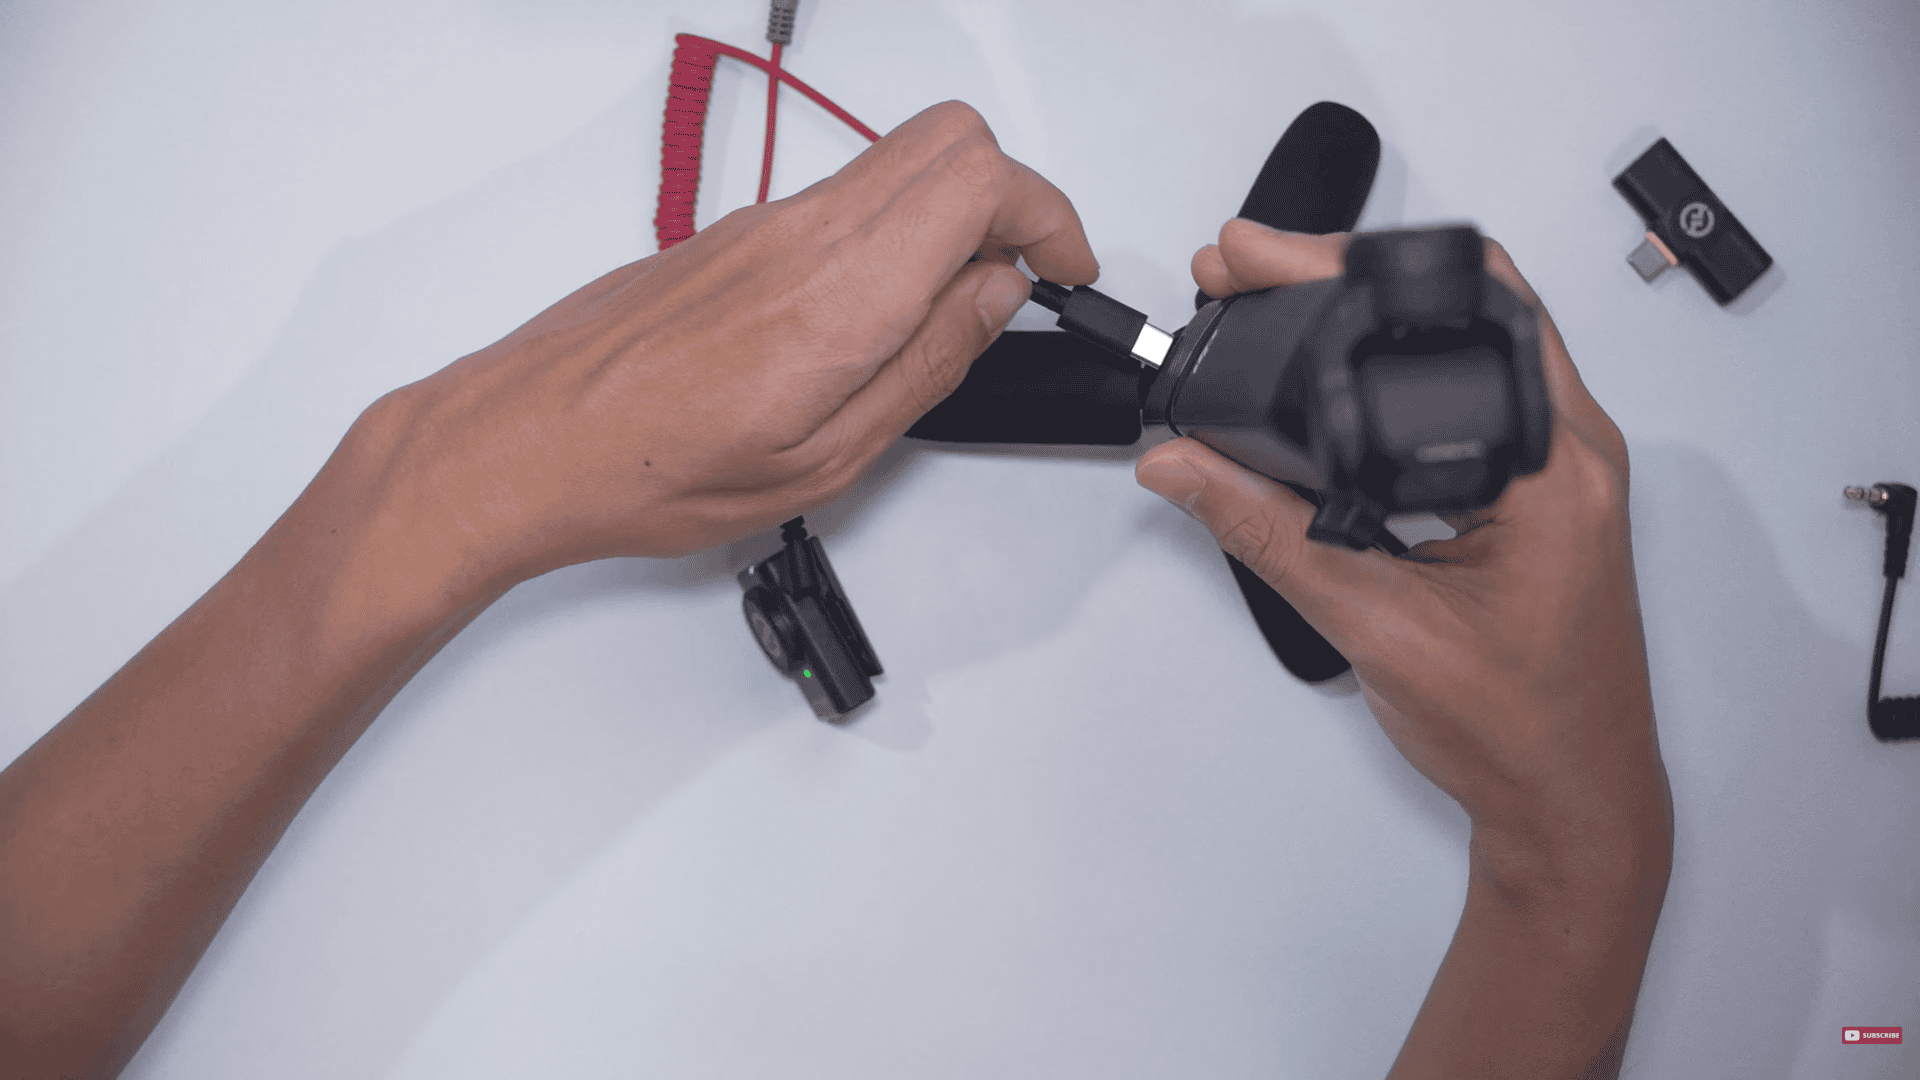
From here, you have the option of connecting the USB Type C into the back of the Osmo Pocket 3 like so. It’s just kind of painful to look at, with the way it gets twisted.

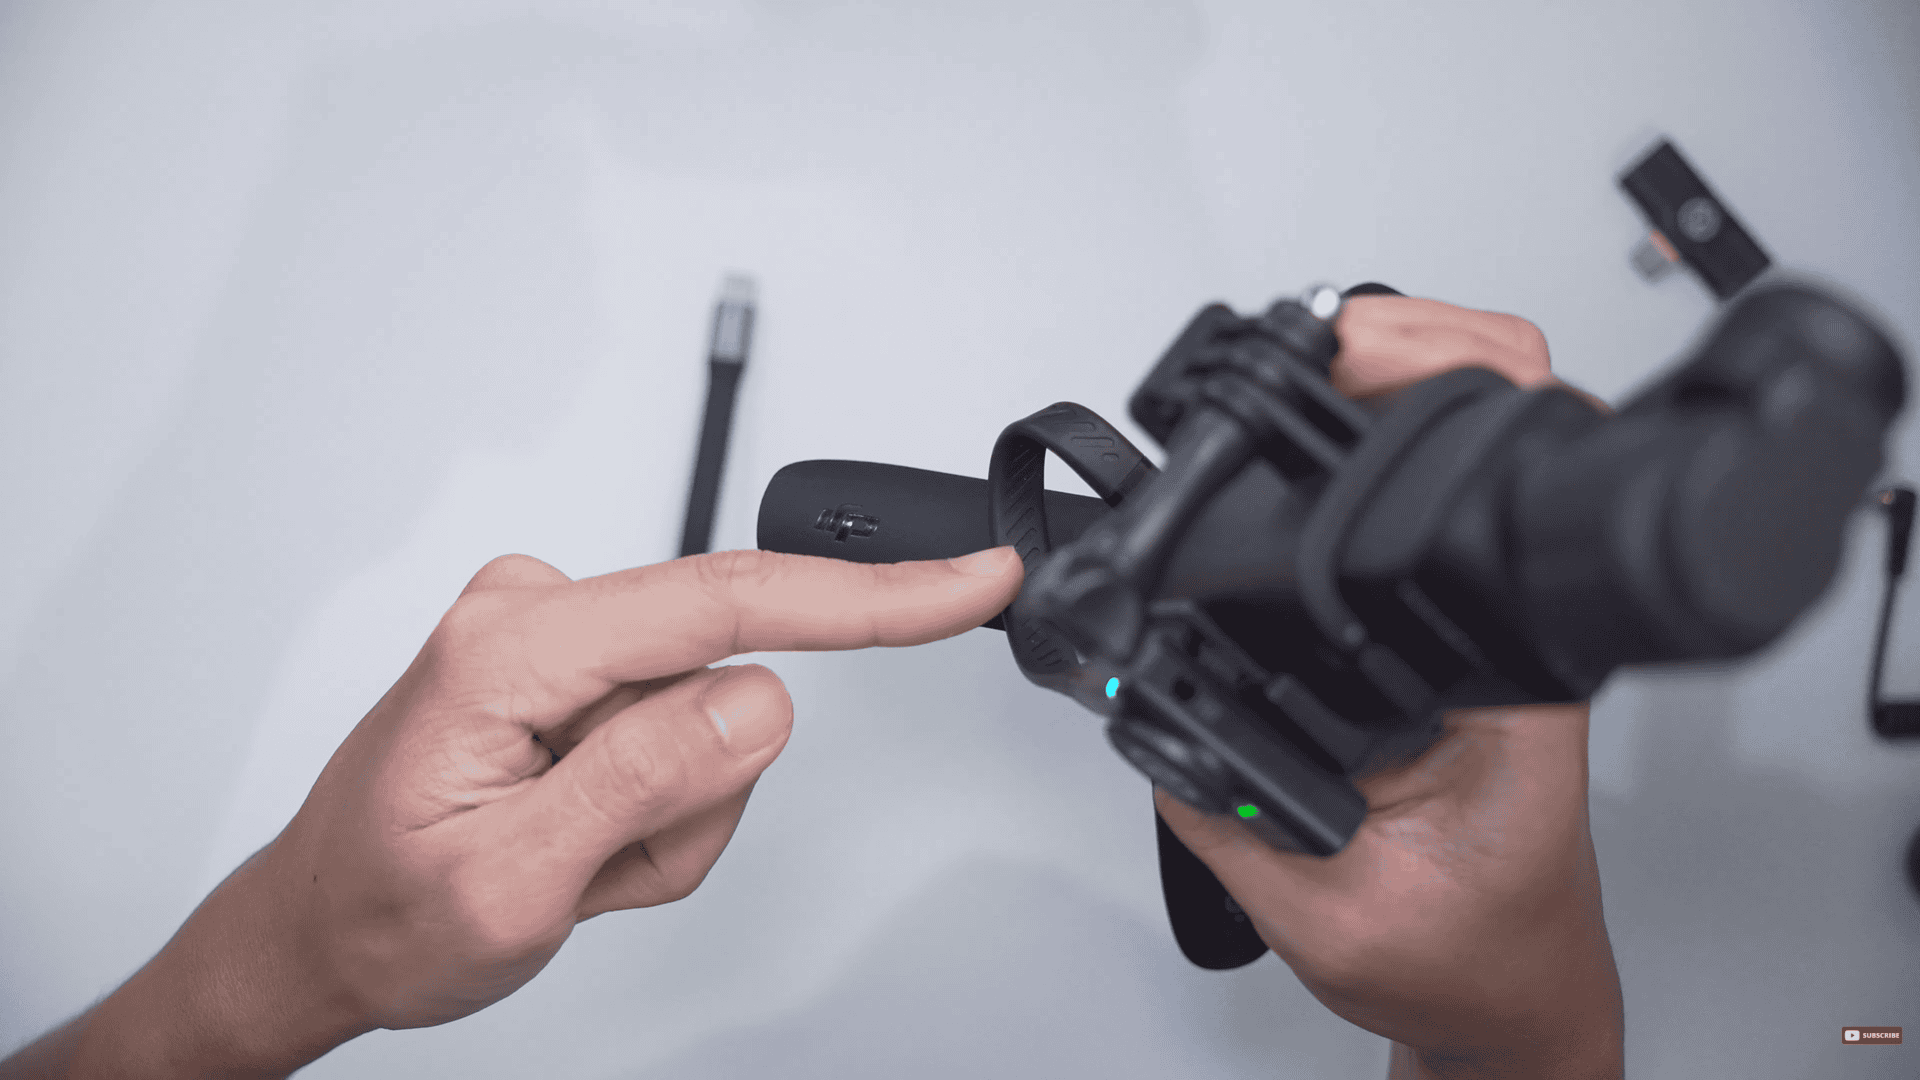
The USB twisted
If there’s too much twisting, you can use this L-adapter, so the cable has a bit more room to stretch.
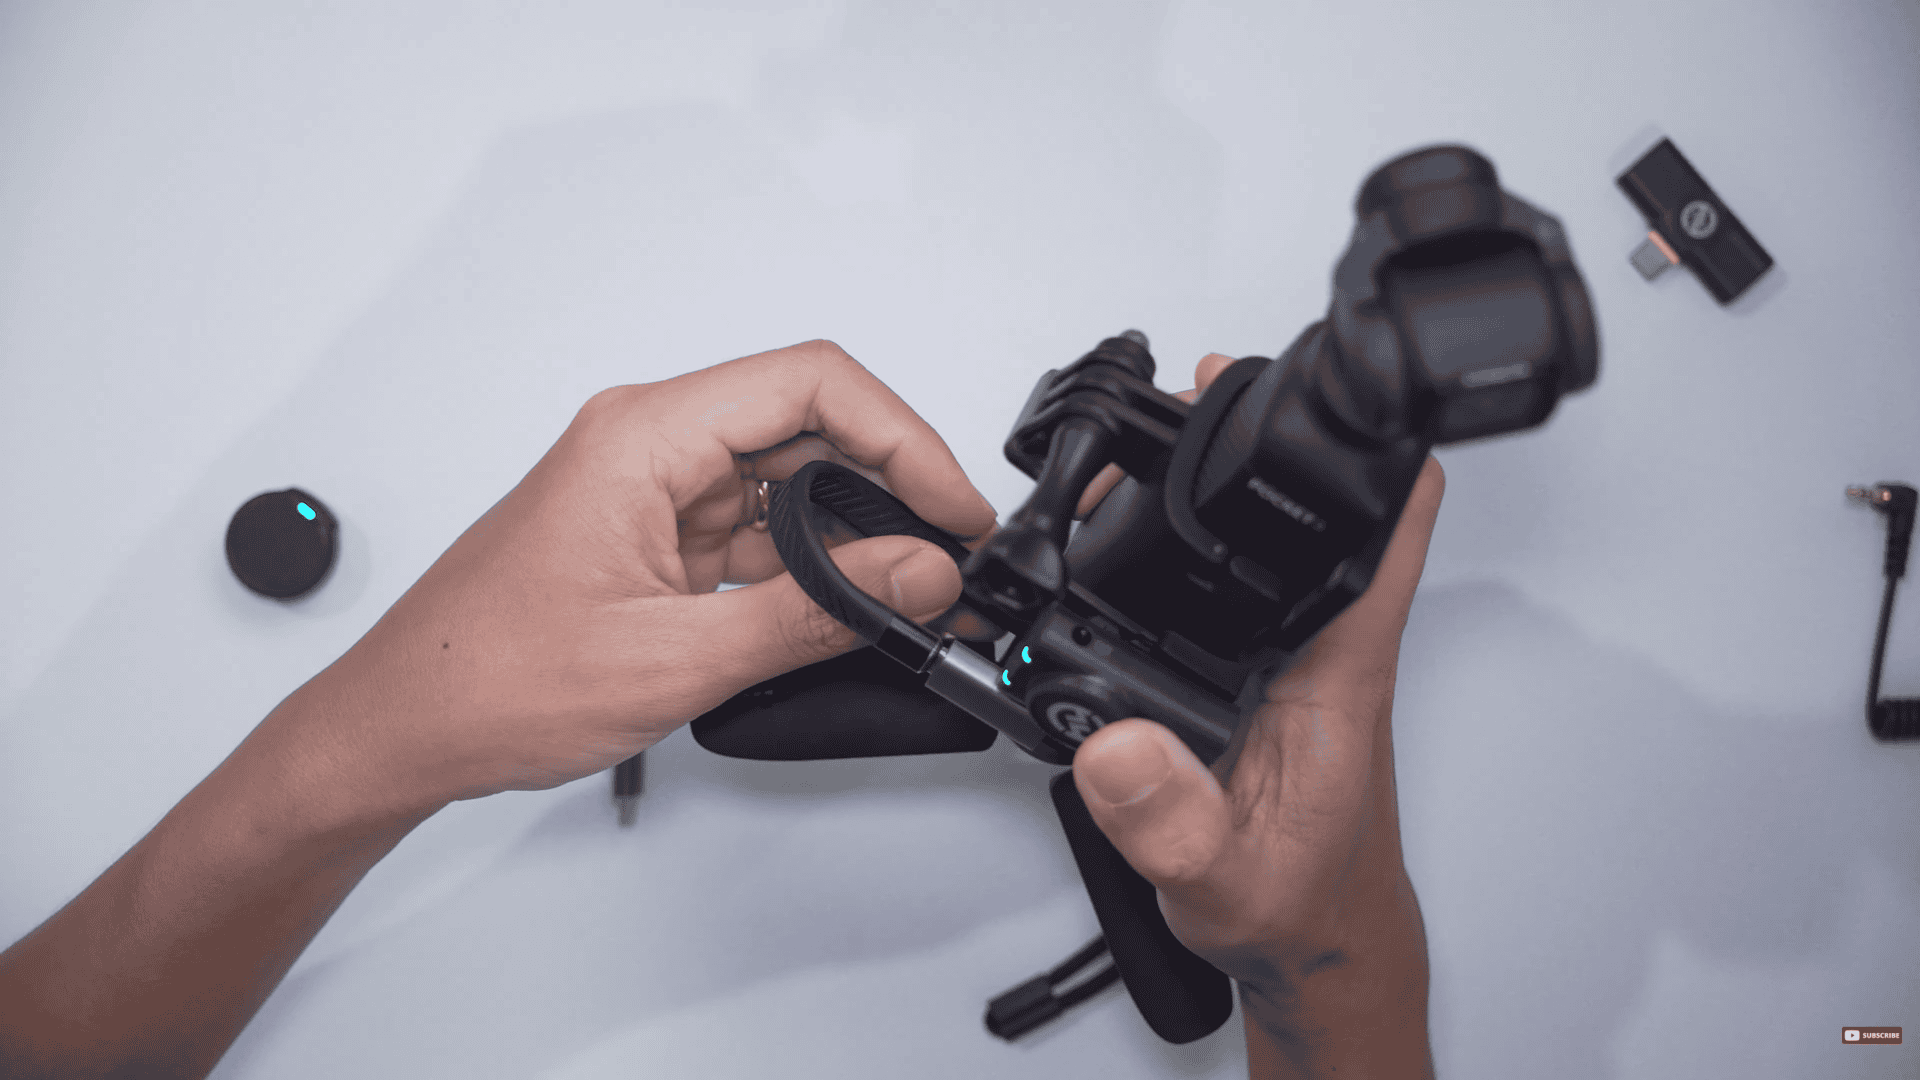
Using the L-adapter
I think ergonomically speaking, its completely fine, but there is a bit of excess space being used and this extra loop is unnecessary. So, my personal favorite is using the shortest cable possible which is the Ivon. With the Ivon, you have a very compact setup but if you prefer to use the Hagibis for uniformity, you can do that as well.
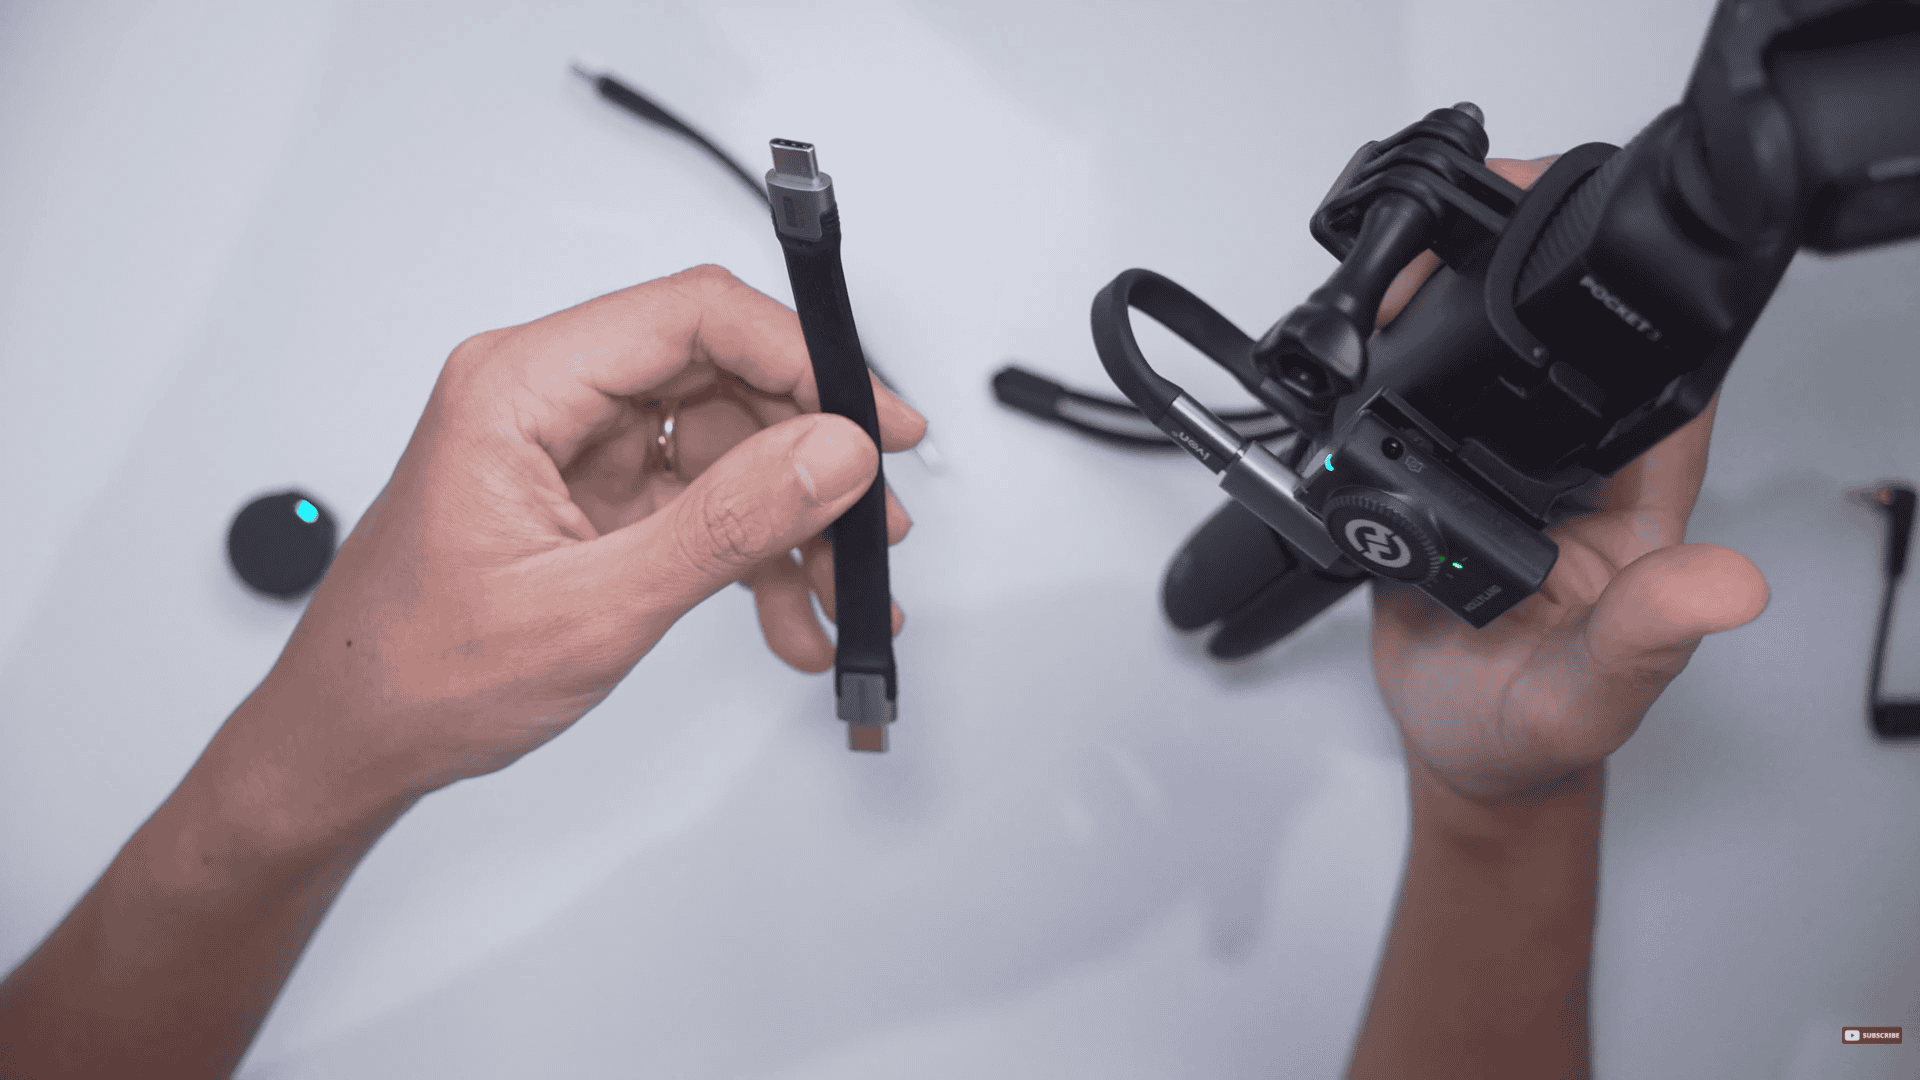
The Ivon and L-adapter combo. The Hagibis on my left hand.
With the Hollyland Lark M2 setup, we can move the gain up and down using the included camera receiver. I find that the best way to have control over your gain for the Hollyland Lark M2 is when its connected to the Osmo Pocket 3. It has no signal degradation because we are using a digital method and it has complete control of gain.
That’s it for this tutorial! If you found this helpful, drop your insights in the comments below. Grab the DJI Osmo Pocket 3 + Hollyland Lark M2 combo using the links down below.
DJI Osmo Pocket 3:
https://link.davesoltura.com/DJIOsmoPocket3
Hollyland Lark M2: